• Century Brick

    The design features a total coverage area of 3.50 square feet, with each sheet accommodating 24 bricks. The bricks have a thickness ranging from 1/4" to 3/8" and are crafted in an articulated design for added visual appeal.

  • Distillery Brick

    The design offers a total coverage area of 4.50 square feet per sheet, containing 24 bricks. Each brick ranges in thickness from 1/4" to 3/8" and features an articulated design for enhanced aesthetics.

  • Century Corner

    Century corners are of size 4"Wx 7.75"Lx 2.25"H. These are available in Liner Foot and 1 liner foot contains 5 corners.

  • Distillery Corner

    Distillery corners are of size 4.25"Wx 8.75"Lx 2.25"H. This collection contain 4 corners in 1 Liner Foot.
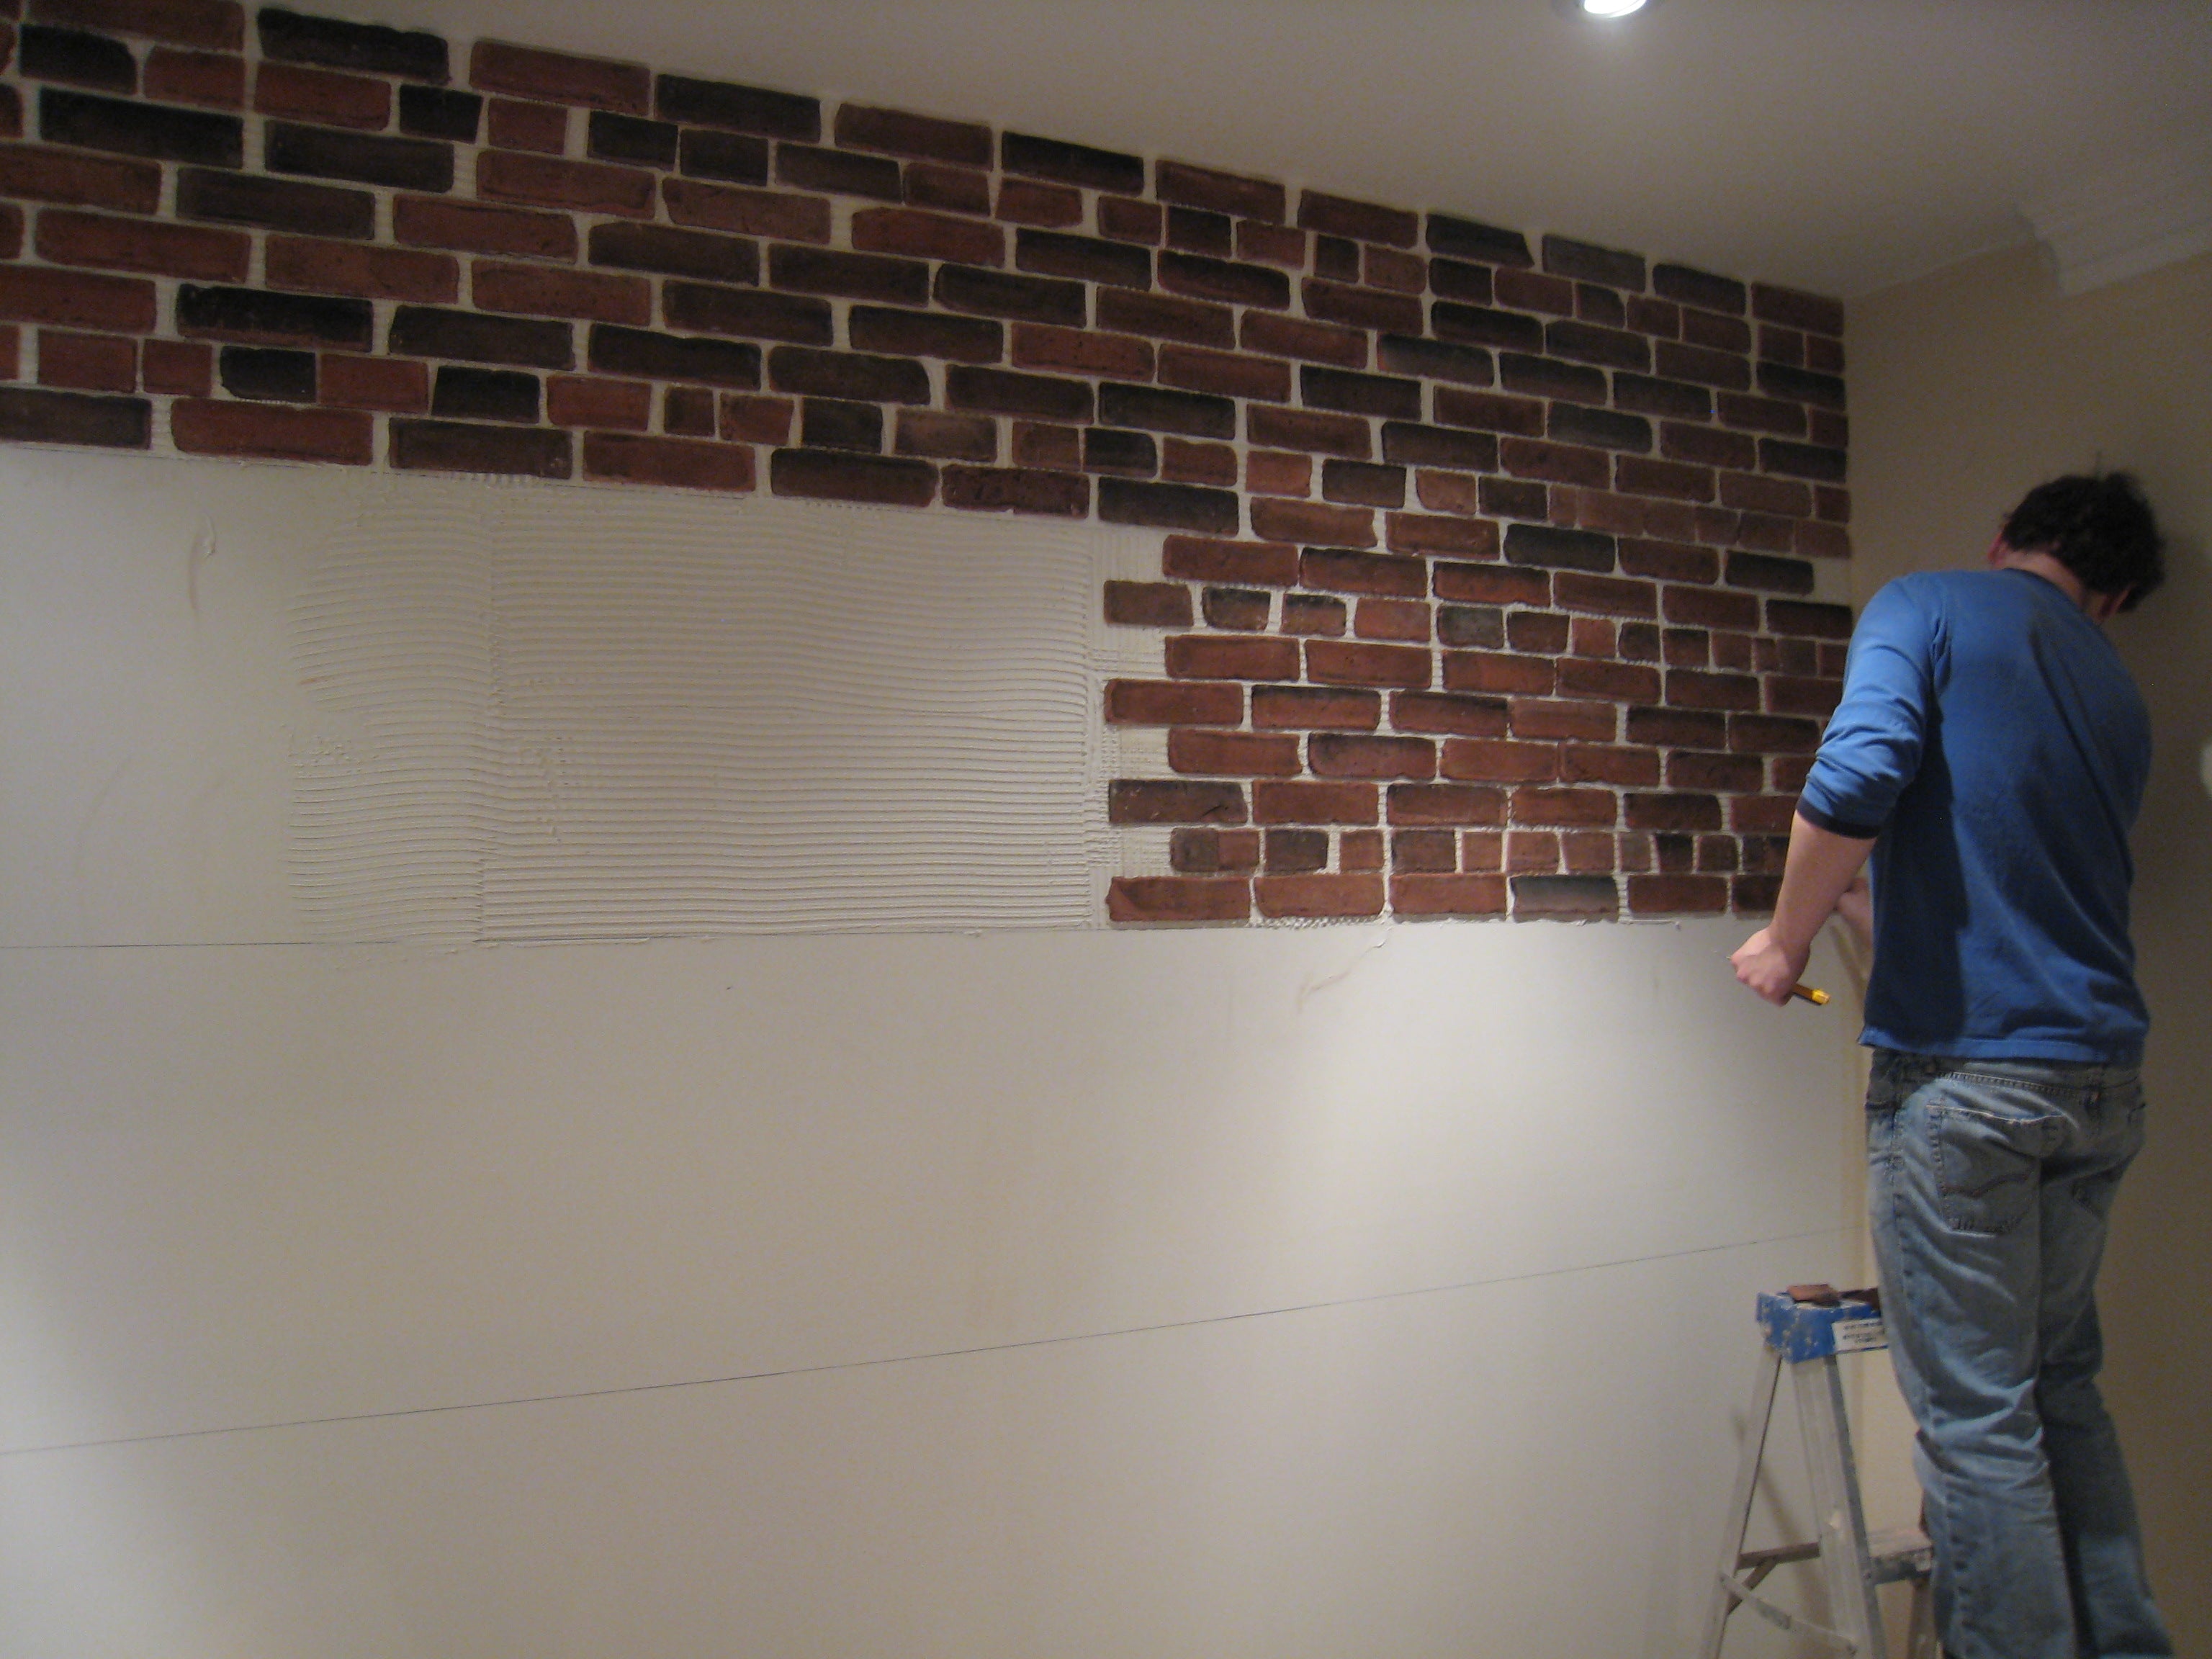
  • Column

Follow these Steps for Installation

Need Following Tools

  • Level
  • Utility knife
  • Measuring tape
  • Pencil
  • Ceramic wall adhesive
  • Damp cloth
  • Power drill
  • Mortar/paint mixer
  • Protective gloves
  • Corn whisk brush
  • Pointing tool
  • 5-gallon bucket
  • Drop sheet
  • 1/8” trowel - Mortar bag
  • Pre mixed mortar

Applying brick panels

  1. Measure from the top of the wall to be covered with brick panel, Century brick 20” or Distillery brick 23 1/4“. Using a level, draw horizontal line to help guide the panels across the wall.
  2. Apply a small amounts of adhesive onto wall using a trowel.
  3. Smooth moderate quantity of adhesive evenly over wall to be covered by panel with side-to-side or top-to-bottom motion. Apply enough adhesive to cover two panels at one time. Spread adhesive outwards on wall, extending beyond the size of panel. Adhesive dry time may vary once applied to wall.(maximum 10-15 minutes workable time.)
  4. Ensure that horizontal reference line is not covered with adhesive.
  5. Lay panels on adhesive and press against the wall. Adjust panel so space between bricks is visually pleasing . Remove any excess adhesive from brick immediately with damp cloth. Do not let adhesive set on brick surface. Do not use a wet sponge for surface clean up.
  6. Score excess mesh from panel with utility knife.
  7. To fill in panel where small brick pieces are needed: overlap one loose brick piece on top of an applied piece for reference on where to score and snap loose piece.
  8. Let adhesive and panels set for 30 minutes prior to mortaring.

*** Please read instructions carefully before beginning installation.***

Apply corner bricks first (if applicable)then work away from corner by installing full panels.

Single brick pieces can be helpfull to complete wall sections where needed without cutting bricks
out of other panels. Individual brick pieces are available in packages of 10 per box.

Our company not only supplies the necessary mortar and adhesive for installation but also offers professional installation services. With our comprehensive solutions, we ensure a seamless and efficient setup for all your needs

Installation Video